


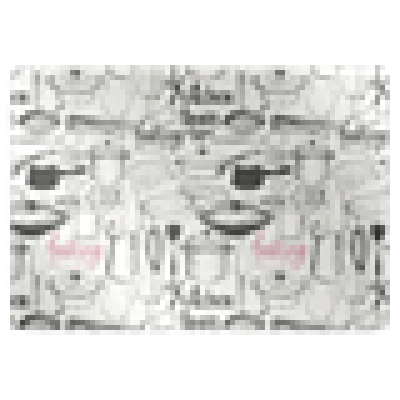
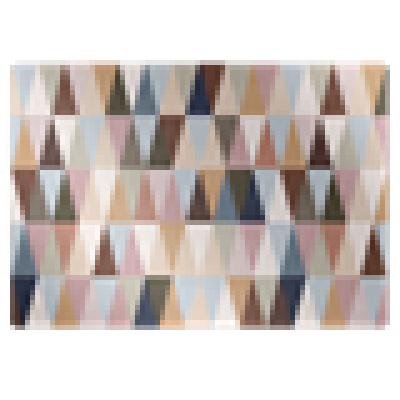


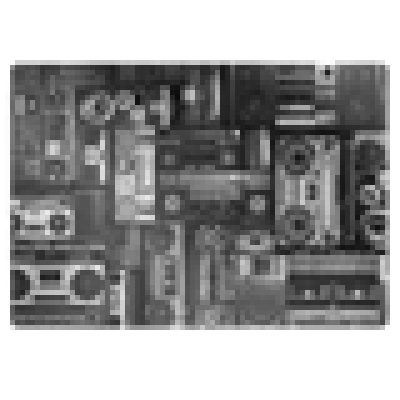

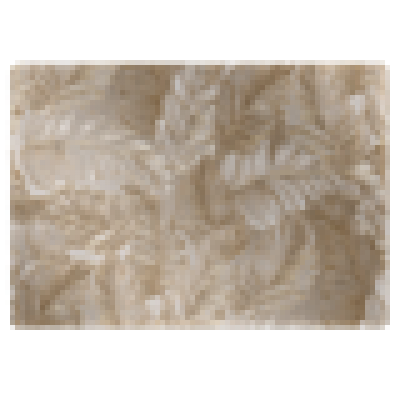
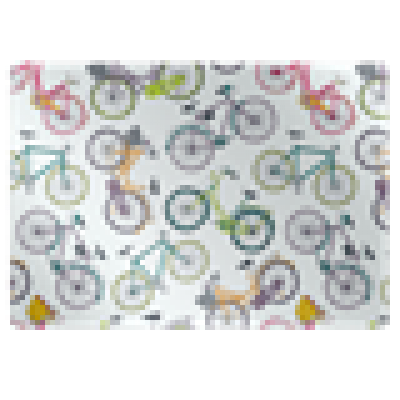
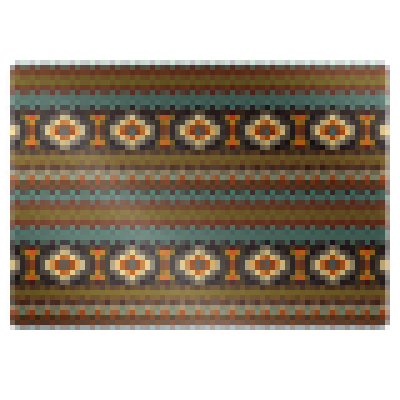
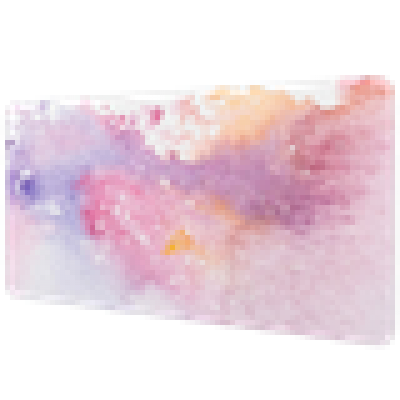
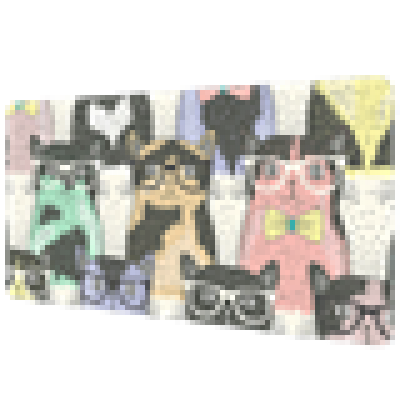


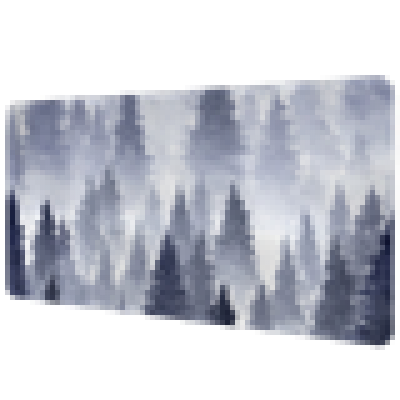

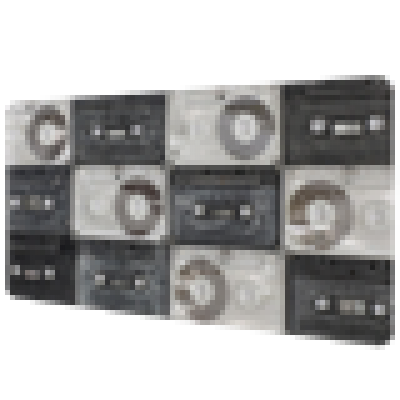
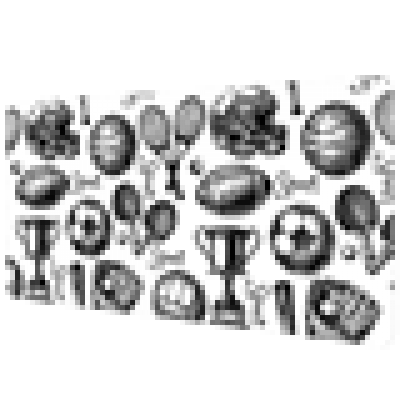
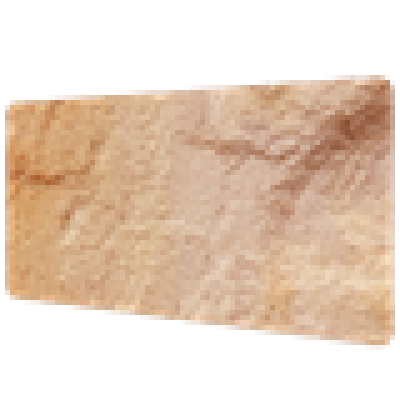

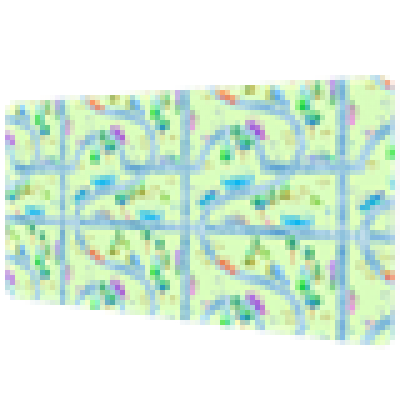
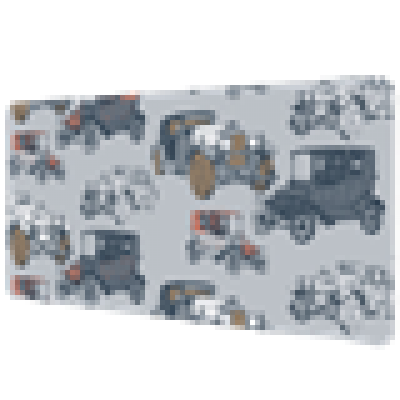
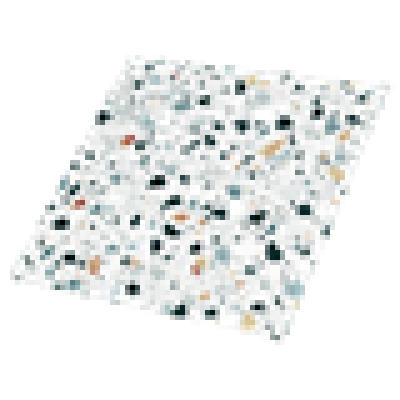
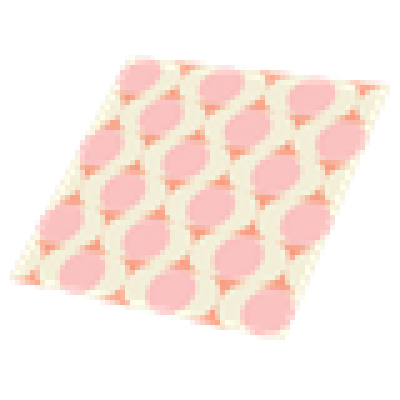


What are the tiles made of?
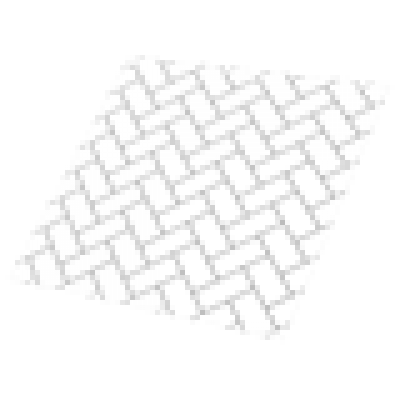
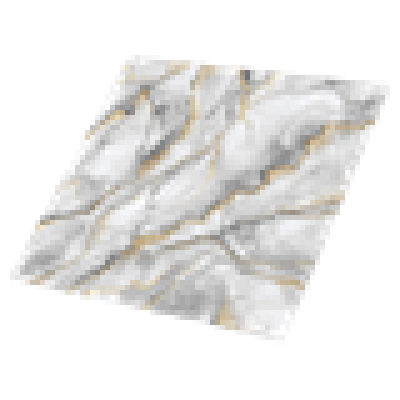
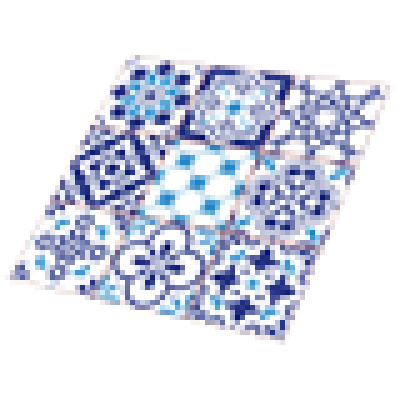
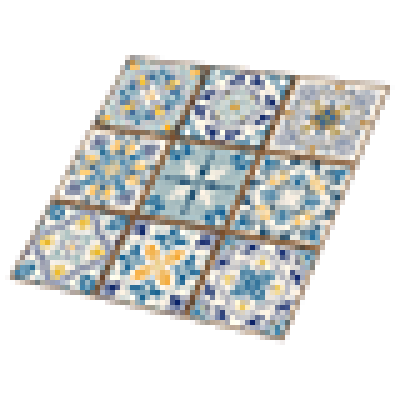
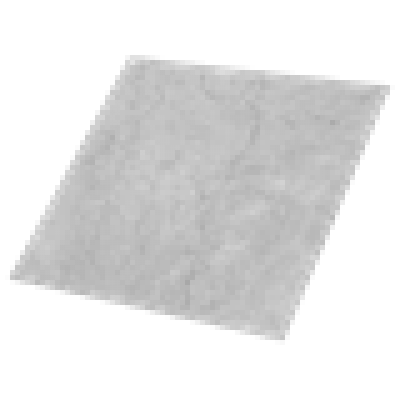
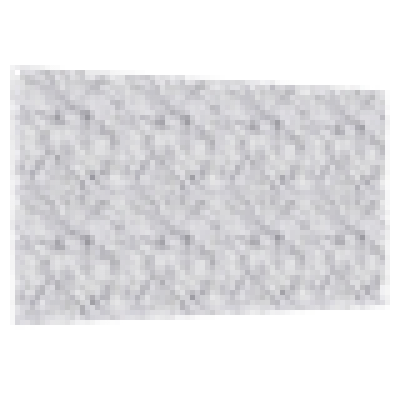
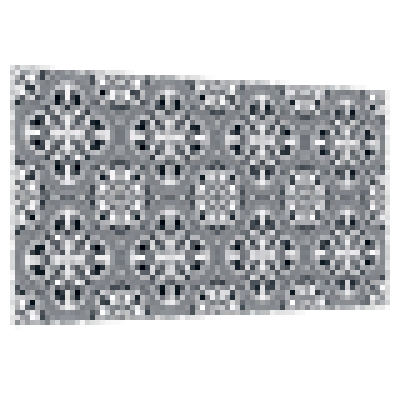
Wall / floor tiles are made of high quality 1.1mm thick vinyl material, reinforced with PES mesh with adhesive. The self-adhesive part of the panel is covered with a protective foil. The tiles are highly resistant to stretching, tearing and bending. The material made of synthetic fiber does not accumulate microorganisms and bacteria.
How to install self-adhesive vinyl tiles in the kitchen
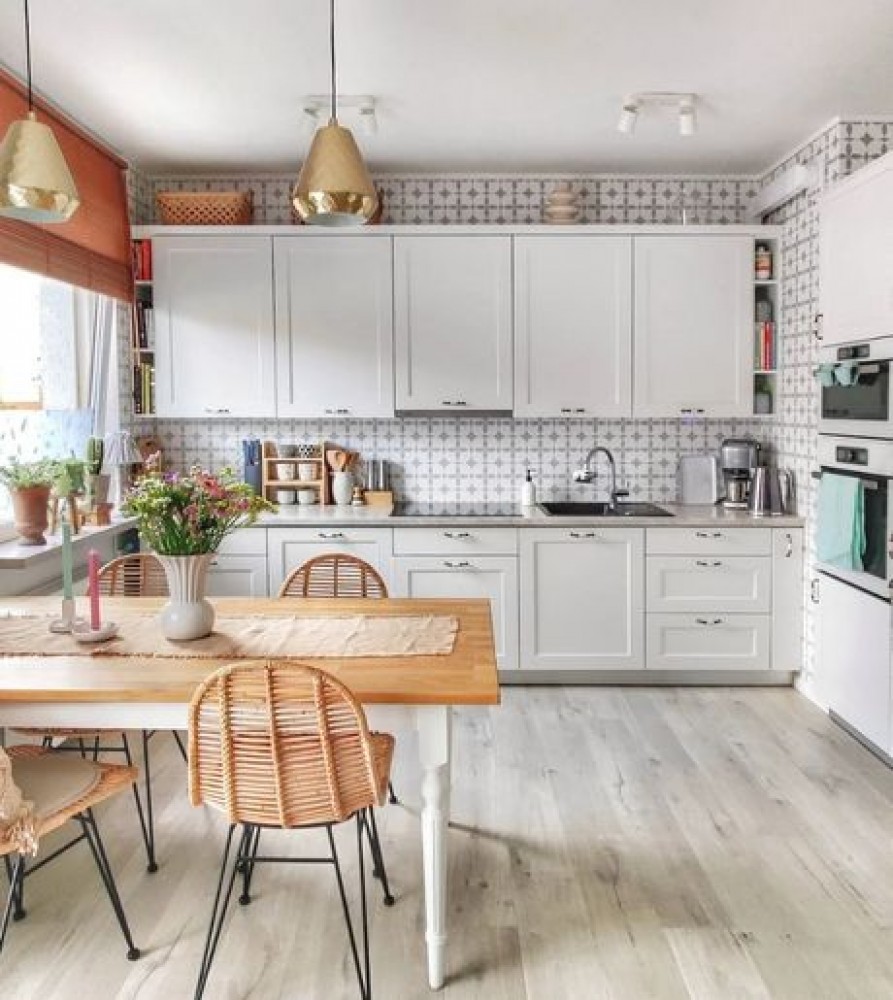
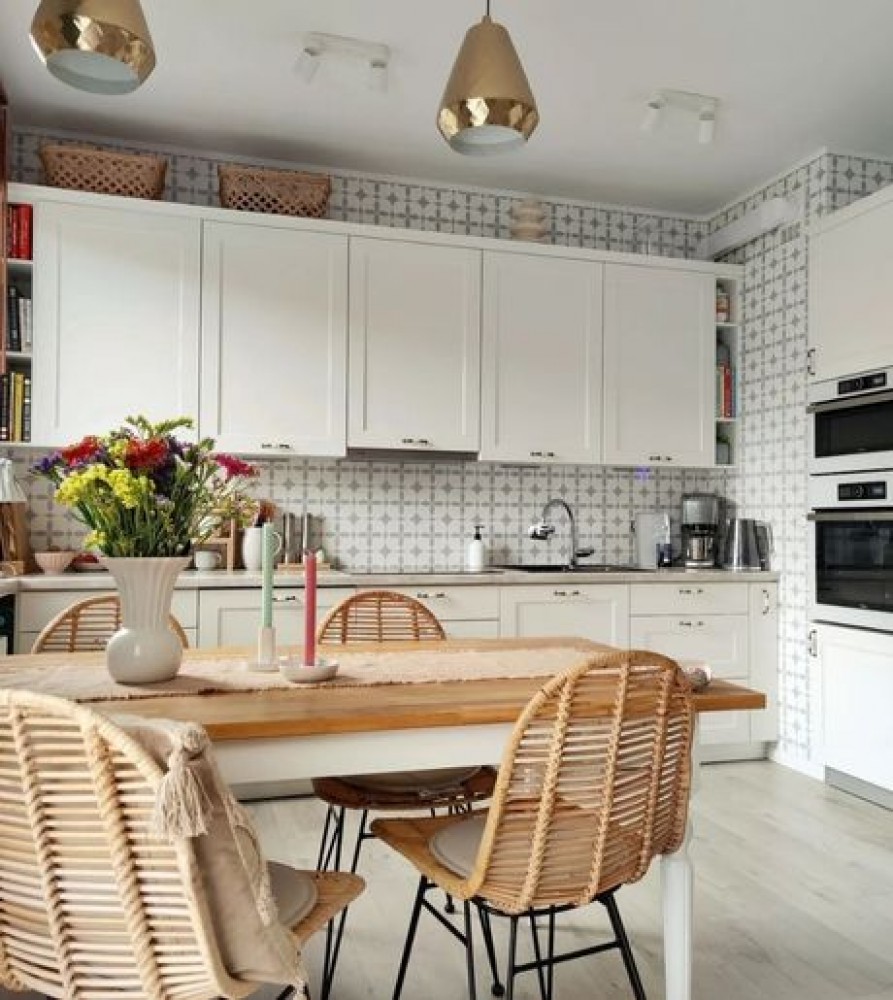
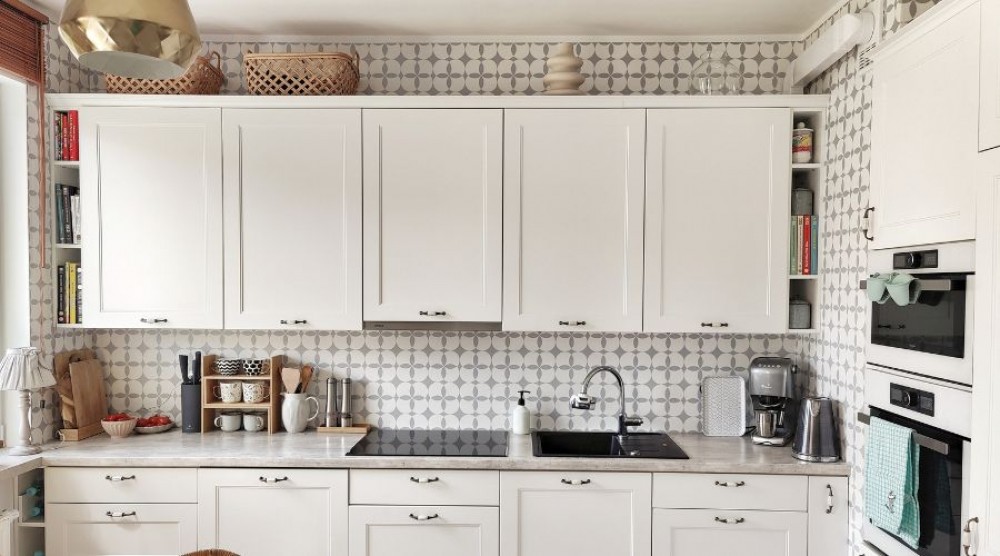
Are you fed up with your old ceramic tiles, would you like to change something in the kitchen, but you do not want to carry out a general renovation? Nothing easier! In collaboration with @projectwood_diy, we will show you how you can change the decor of an entire space with the help of self-adhesive panels.
Useful tools
- pencil
- wallpaper knife
- spirit level
- soft cloth / wallpaper roll
- tool for disassembling electric sockets
- in case of unevenness - grinding tools
Before starting the assembly
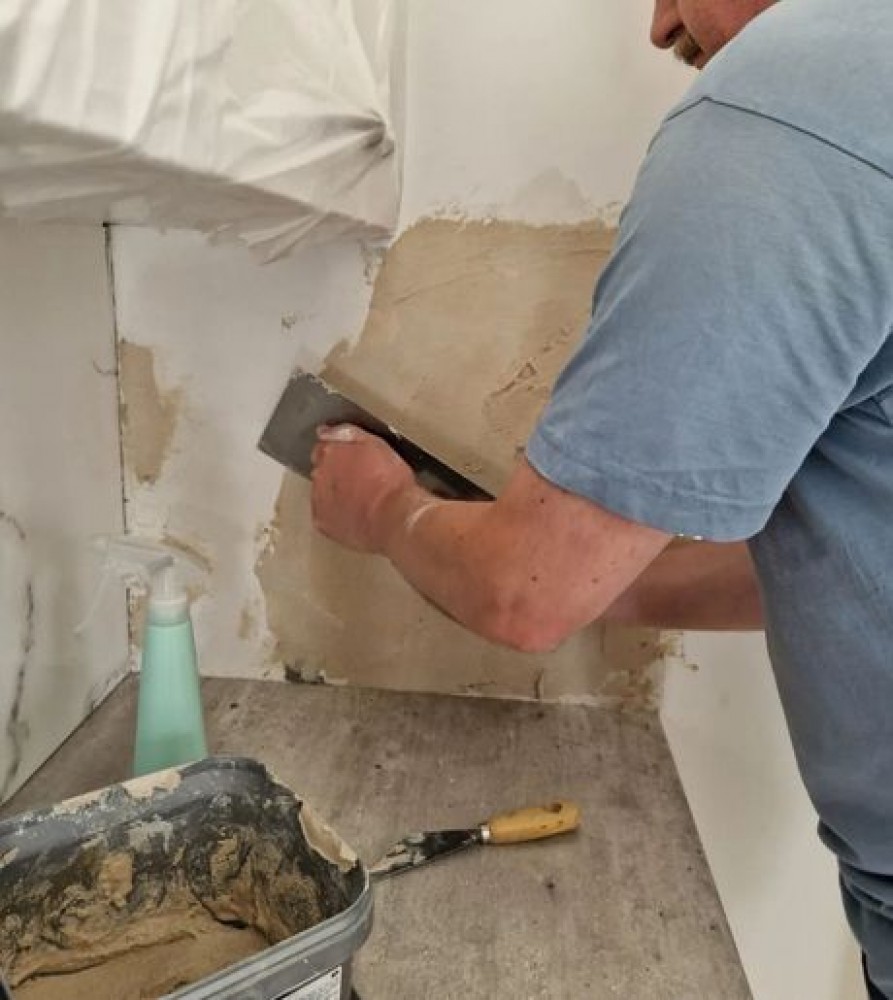
Before you start applying vinyl tiles on a wall, you should properly prepare the surface. Any unevenness should be removed from it and thoroughly cleaned (e.g. from glue residues) and degreased. Installation should take place on a clean and dry surface. Fill in any unevenness and defects larger than 0.5 mm, otherwise it will have an impact on the structure of the tiles. When planning the installation of vinyl tiles on ceramic tiles, remember that the joints must not be larger than 2 mm. In the case of wider joints, also fill and straighten them!
Comment from @projectwood_diy:
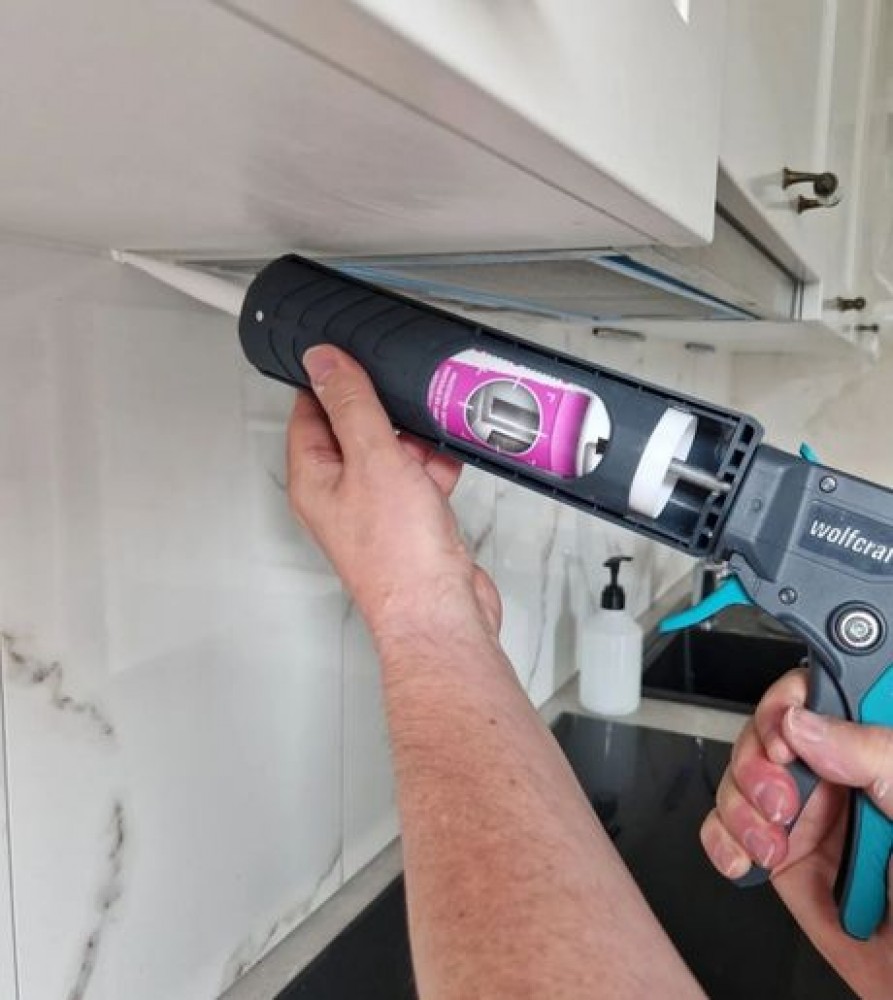
The tiles on which we stick our panels must be degreased in order to stick well. In our kitchen, the tiles on the sides were removed first, because they were not flush with the wall. Due to the fact that the surface of the walls must be smooth - without any defects - I had to level everything and remove loose paint coats and fill in the plaster in the place of the removed tiles. The cavities under the hanging cabinets were filled with acrylic. We had 1 mm of the joints, so I didn't do anything because there was no such need.
Application of self-adhesive vinyl tiles
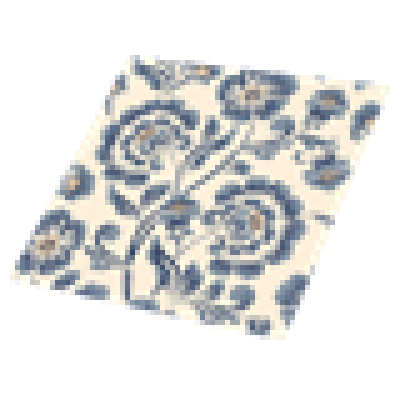
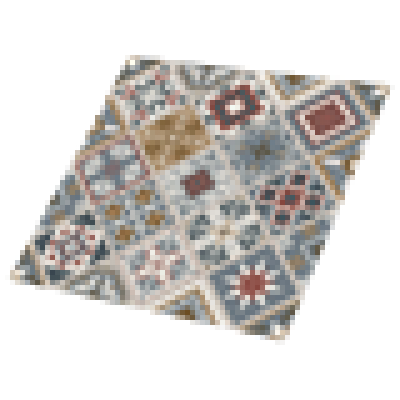
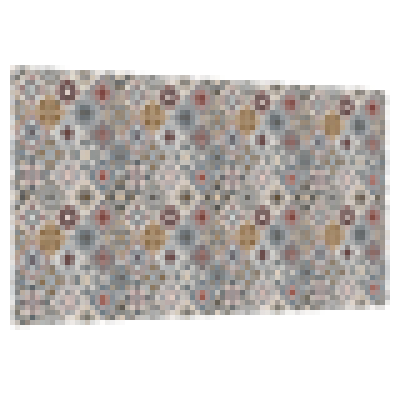
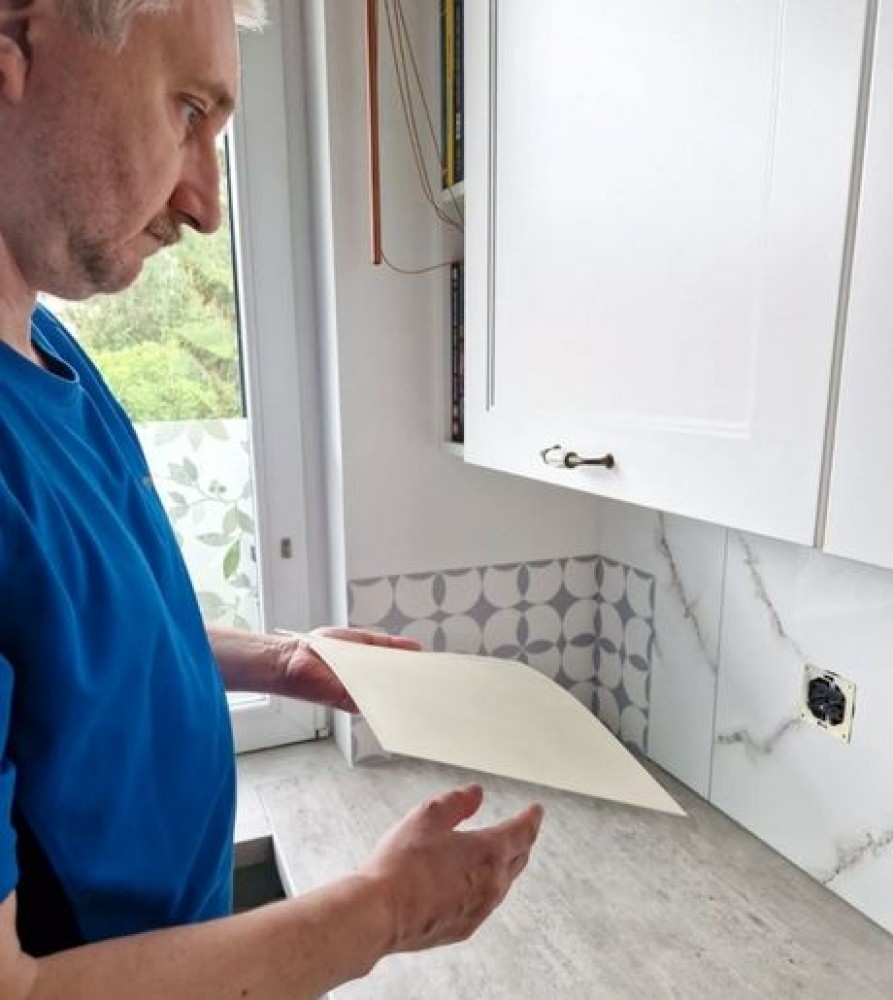
- Place the vinyl tiles in a safe place and check the pattern match. Make sure that the product complies with the order you ordered and does not have any defects.
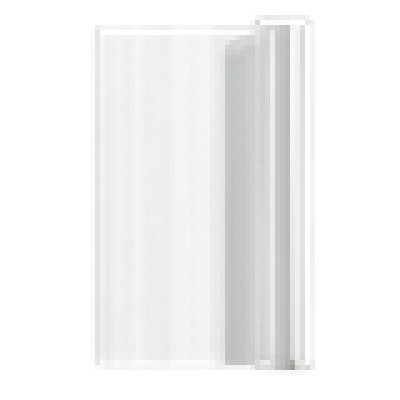
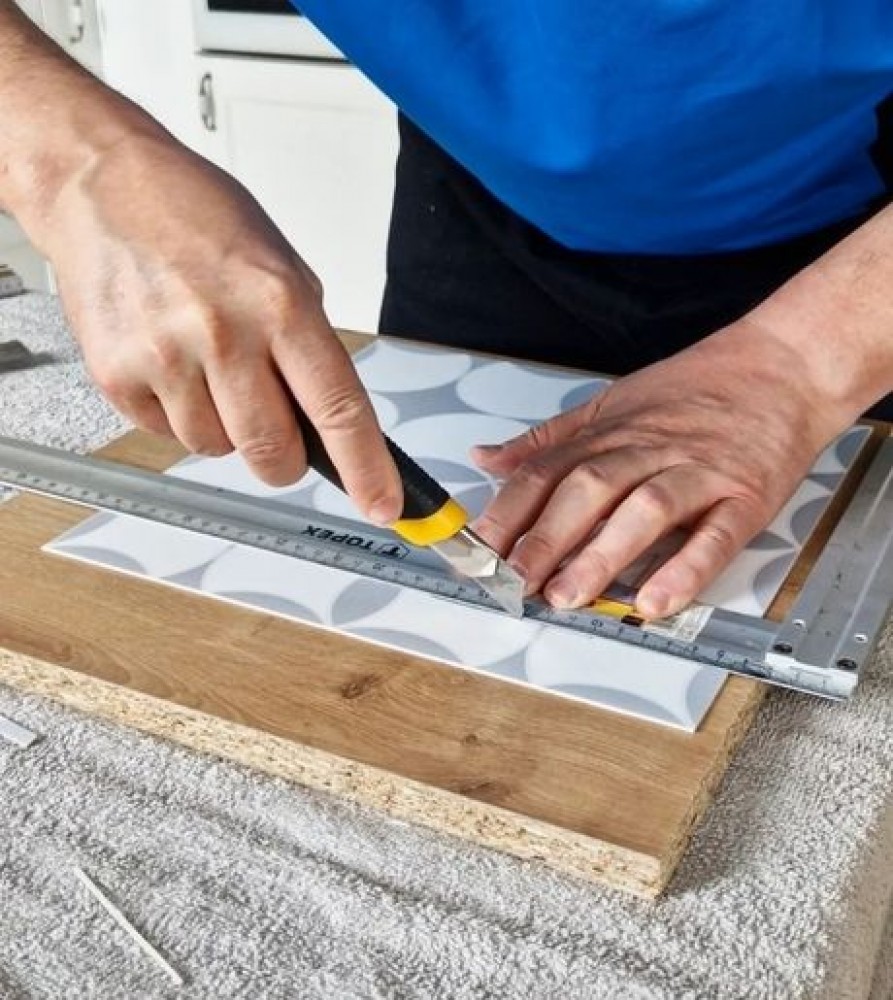
- Before sticking the tiles, remove the protective foil from it, then gently and evenly adjust it to the surface. Then press it down firmly, paying particular attention to the edges. Glue the next tiles without leaving any gaps between them - remember to match the pattern exactly. If you need to trim the tiles, use a wallpaper knife.
Comment from @projectwood_diy:
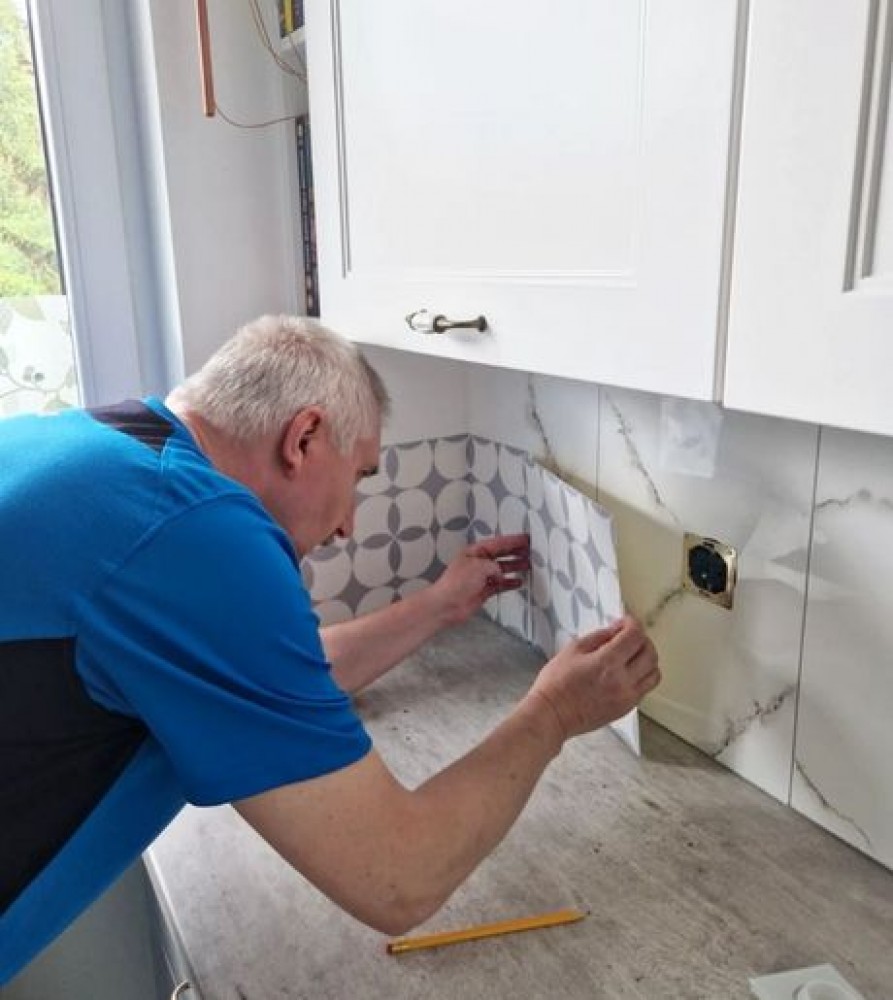
- For the installation of vinyl tiles, you will need: some tools for disassembling electrical sockets, a good pencil to mark the dimensions, a sharp wallpaper knife, as well as a spirit level, which is also very important when sticking the first batch of panels.
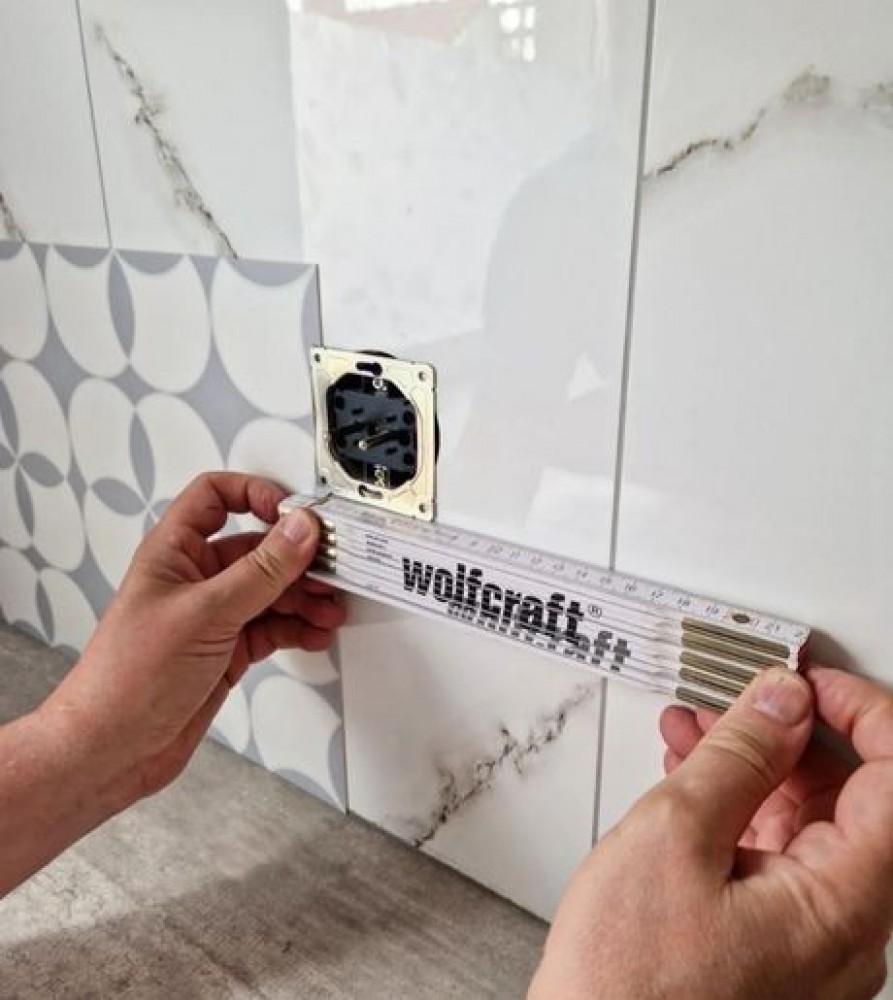
- The underside of the vinyl panels is covered with a layer of glue, so only remove the wax paper and stick it on the wall. Use a wallpaper knife to cut holes for electrical sockets marked with a pencil. At this point, I have to suggest to you to mark it delicately, because in case of a mistake we can erase the mark and apply the correction without leaving marks on the tile. A very important thing! If you have a tile on the wall of the same size as the vinyl panels, make a shift so as not to stick on a scale of 1 to 1, because the edges of the panels will not stick exactly and after some time they may peel off.
- If you stick the panel wrong, do not panic, because it can still be peeled off and stick again correctly. For putting the panels on the walls, I suggest using a soft cloth or a wallpaper roll to press them down so that they stick to the wall.
- If after some time you see an air bubble, you can easily eliminate it with a pin, pierce the bladder and squeeze out the accumulated air. In this way, you attach the panel without leaving any traces.
- We finish the tiles in the corners with silicone and nothing bad should happen to them, we do the same in the vicinity of the contact with the kitchen worktop, so that water does not come in. I will just add that the glue acquires its properties after 24 hours from the moment of sticking.